Piping Buttercream Flowers with a Ziploc Bag: The Ultimate DIY Hack for Beginners
Elevate your baking with professional-looking designs, no fancy tools required. Learn how to transform a simple Ziploc bag into your new favorite kitchen hero for creating stunning buttercream decorations. This is the ultimate budget-friendly hack for bakers of all skill levels, proving that beautiful confections are possible with just a little creativity and a household item.
9/8/20255 min read
Piping perfection without the fancy tools? You bet! A beautiful cake or a batch of cupcakes doesn't have to require a closet full of expensive equipment. Honestly, sometimes the best hacks are the ones that are hiding in plain sight, right there in your kitchen drawer. We're talking about that humble kitchen hero, the Ziploc bag.
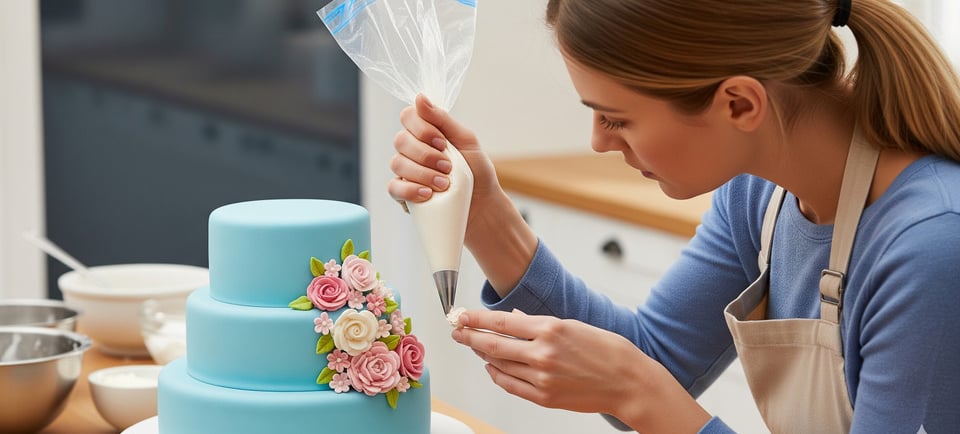
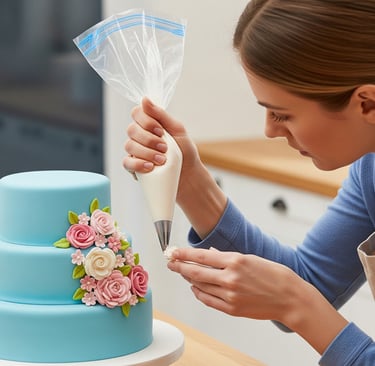
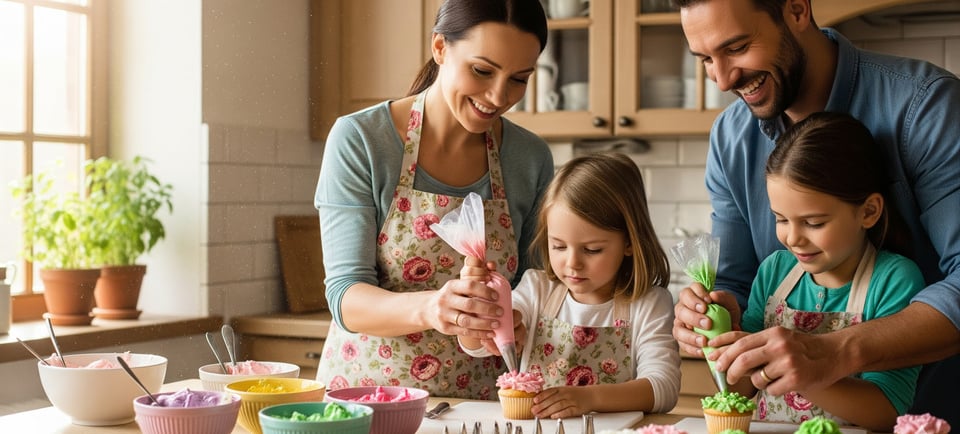
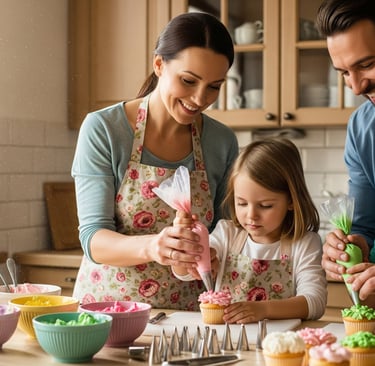
For anyone who has ever stared longingly at those perfectly frosted confections in a bakery window, feeling a little intimidated by all the professional piping tips and pastry bags, I've got a secret for you. You can create stunning buttercream flowers and other gorgeous designs with just a simple Ziploc bag. It's a total game-changer, whether you're a seasoned baker or just getting your feet wet. This isn't just about saving money; it's about embracing a simpler, more approachable way to decorate that lets your creativity really shine.
Unlocking the Magic of a DIY Ziploc Bag Piping Bag
Let's get real for a second. We've all been there: you're in the middle of a baking session, the buttercream is perfect, and you suddenly realize you're out of piping bags. Or maybe you're just starting your cake decorating journey and aren't ready to invest in all the gear. That's where this buttercream piping hack comes in. It's a total lifesaver.
So, how do you turn a simple food storage bag into a powerhouse for piping? It’s surprisingly easy, but there are a few little tricks that make all the difference. Think of it as your own little secret weapon.
First things first, you'll want to grab a good quality Ziploc freezer bag. The freezer bags are thicker and more durable than the standard sandwich bags, which means they're less likely to burst under pressure—and trust me, you'll be applying some pressure. You'll also need a pair of scissors and your perfectly prepared buttercream frosting.
Here's a quick rundown of the steps:
Prepare the Bag: Open your Ziploc bag and fold the top over the edge of a tall glass. This little move frees up both of your hands and makes filling the bag so much cleaner. No more wrestling with a floppy bag while trying to scoop in frosting!
Fill the Bag: Use a spatula to scoop your buttercream into the bag. Fill it only about halfway. This gives you plenty of room to work with and ensures the bag doesn't get too unwieldy.
Seal and Squeeze: Gently push the air out of the bag and seal the top. Then, with the frosting all sealed up, push it down toward one of the bottom corners. Give it a gentle tap on the counter to settle the frosting.
Snip the Tip: This is the most crucial part. Hold the bag with the frosting pushed into the corner. With your scissors, snip off a tiny bit of the very tip of that corner. Start with a small cut; you can always make it bigger, but you can't make it smaller! The size and shape of your cut will determine the shape of your piping. A straight cut will give you a round opening for dotting or making a swirl, while a slightly angled cut can create a more interesting shape for petals.
And just like that, you've got yourself a makeshift piping bag. It’s perfect for creating simple but beautiful buttercream flowers, borders, and swirls.
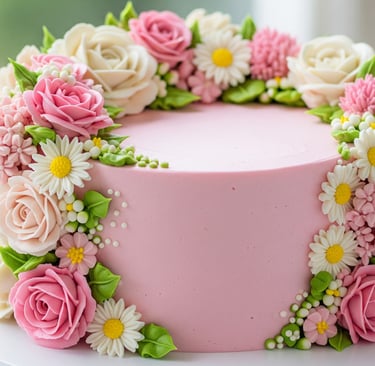
Making Your First Buttercream Blooms
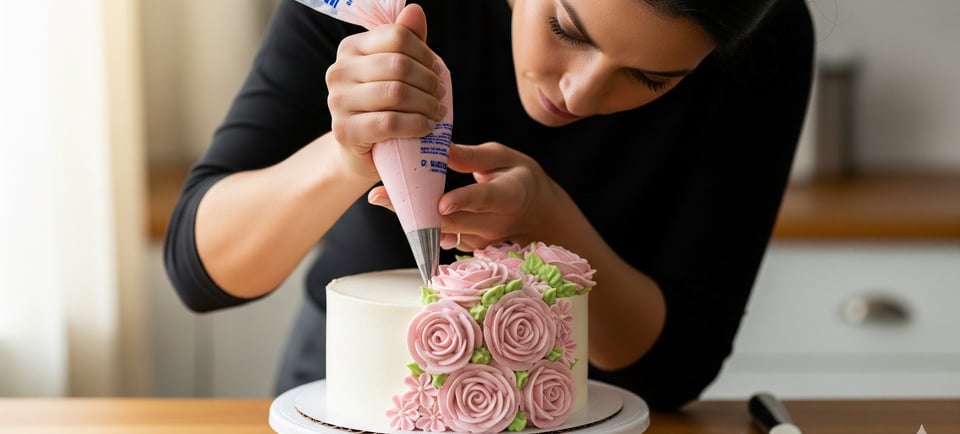
Now that you have your DIY piping bag, let’s talk about making some easy buttercream flowers. You don't need a degree in botany or anything—just a little practice. A perfect buttercream consistency is key here. It should be stiff enough to hold a shape but soft enough to pipe smoothly. If it's too soft, pop it in the fridge for a few minutes. Too stiff? Add a tiny splash of milk or cream.
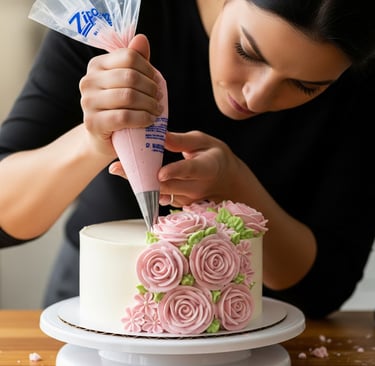
For a simple rosebud, snip a very small, angled cut in the corner of your bag. Now, on top of your cupcake, pipe a small mound of frosting to create a base. Then, starting from the center, pipe small, overlapping petals around the mound, rotating your cupcake as you go. You'll be amazed at how quickly it starts to look like a tiny, delicate flower.
Don’t be afraid to experiment! Try a small, round cut for little piped dots that can form a simple but elegant cluster of blossoms, or pipe a large, continuous swirl from the outside in for a classic cupcake design. The possibilities are truly endless, and every little imperfection just adds to the unique, human-like charm of your creation. This is where the magic happens, you know

FAQs: Piping Buttercream Flowers with a Ziploc Bag
Is a Ziploc bag just for simple designs?
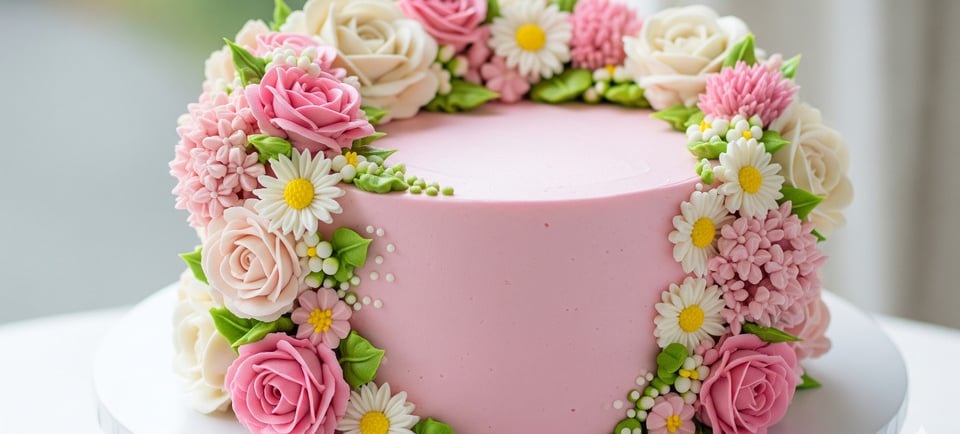
Not at all! While it's perfect for beginners and simple designs, with a bit of practice and some strategic snips, you can create a wide range of looks. Some bakers have even mastered making things like rosebuds, chrysanthemums, and daisies just by altering the cut and their piping pressure. For example, a "V" shaped cut can work beautifully for simple petals. It’s all about getting a feel for the technique.
How do I get my buttercream to be the right consistency?
This is probably the most asked question, and for good reason! Your buttercream is your clay. It needs to be firm enough to hold its shape but soft enough to flow easily through your makeshift nozzle. If it’s too thick, you’ll struggle to pipe and might even burst your bag. Add a teaspoon of milk or heavy cream and mix it in until you get a smooth consistency. If it's too thin, a tablespoon or two of powdered sugar can help thicken it right up. It's a delicate balance, but you'll get the hang of it quickly.
What if I want to use a real piping tip? Can I use it with a Ziploc bag?
Absolutely! This is a pro-level hack. You can snip a slightly larger corner of the Ziploc bag and carefully insert a standard piping tip into the hole. The tip should fit snugly, so the frosting doesn't leak out. This trick lets you use all the cool tips you might have without having to buy a dedicated pastry bag.
The Takeaway
At the end of the day, baking and decorating are about fun, creativity, and sharing something delicious with people you care about. Don't let the need for fancy tools hold you back. The next time you're in the mood to decorate, just grab a Ziploc bag, a bowl of buttercream, and go for it. You'll discover that a little ingenuity goes a long way, and the results can be just as impressive as anything you'd find in a professional bakery. So what are you waiting for? Time to get piping!
Explore
Discover unique Czech gifts for every occasion.
Craftsmanship
Tradition
Mon-Fri 9:00-4:00
Address: Školská 660/3, 110 00 Nové Město, Prague, Czechia
Phone: +420 722 126 126
© 2024. All rights reserved.