Creating a Garden of Your Own: How to Make Mosaic Flowers
From the vibrant hues of a fresh bouquet to the delicate beauty of a single bloom, flowers are a timeless inspiration for art. Capture their fleeting beauty forever by creating your own stunning mosaic flower art. This guide will show you how to transform found materials like chipped teacups, stained glass, or pebbles into a permanent, personalized floral masterpiece.
9/7/20256 min read
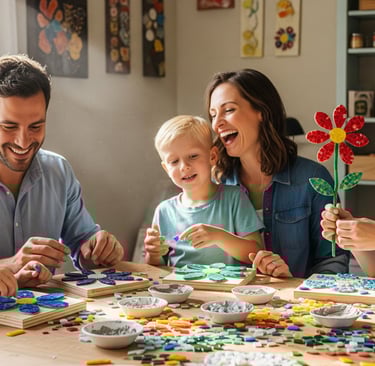
There's something magical about flowers, isn't there? They're fleeting, but they leave a lasting impression, a burst of color and life that can brighten even the greyest day. Honestly, that’s probably why we're so drawn to them as a subject for art. We want to hold on to that beauty, to capture it and make it permanent. And what better way to do that than with a beautiful, durable piece of mosaic art? Whether you’re a seasoned mosaic artist or a beginner looking for a creative outlet, crafting your own mosaic flowers is a wonderfully rewarding project.
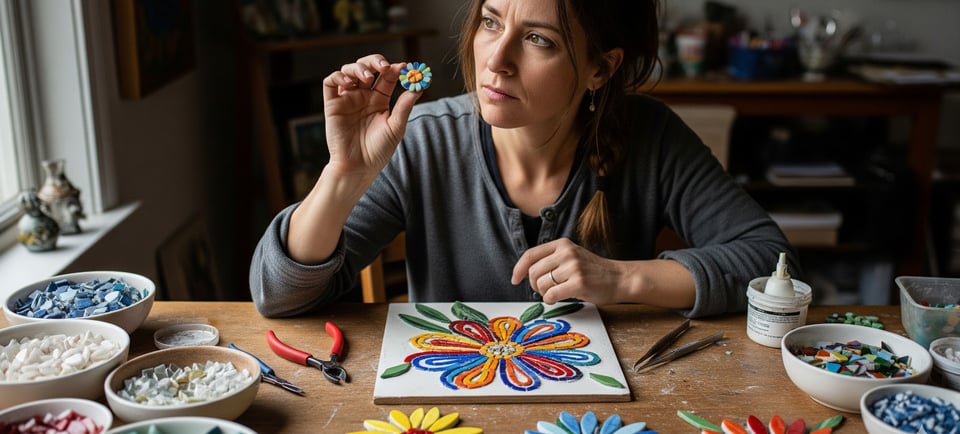
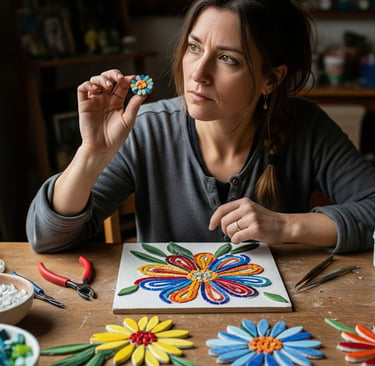
So, where do we even begin? The great thing about mosaic is that you can use almost anything. You’re not limited to just one material. Think of all those chipped teacups and saucers that have seen better days—they're just begging for a second life. Or maybe you've got some lovely pebbles from a recent beach trip or a few spare pieces of stained glass lying around. This is your chance to gather your materials and let your imagination run wild.
The secret to a great mosaic flower, or really any mosaic pattern, is mastering the cuts. It's the foundation of everything you'll do, the very first step in transforming raw materials into a work of art.
Getting the Right Cut: The Nitty-Gritty on Nipper Nips and Grozing
Alright, let's talk shop. If you’re serious about making a DIY floral mosaic, you need the right tools. The most important one, hands down, is a good pair of wheeled nippers. They're like scissors for your glass or tile, and once you get the hang of them, you'll be nipping and shaping like a pro.
Here's the thing: you can't just try to snip off a huge chunk all at once. That's a recipe for shattered tesserae and, well, a whole lot of frustration. The trick is to take it slow. Make a series of small, gentle nips along the curve you want to create. It’s a bit like taking tiny bites out of a cookie—you get to the perfect shape without a mess. For those awkward bits and uneven edges, a few smaller nips will tidy things up beautifully.
Now, I'm not gonna lie to you. Cutting an inside curve is a different beast altogether. If you’re used to working with stained glass, you might prefer to score the glass first with a cutter and then use grozing pliers to break away the excess. But for tiles, sticking to those small, deliberate nips with your wheeled nippers is the way to go. Just remember to be patient and let the tool do the work.
Once you’ve mastered the curve, you're halfway to cutting a perfect circle, which, let’s be honest, is the heart of most mosaic flowers. You use the same technique, just rotating the tile or glass as you go, making small nips until you've got that perfect, rounded shape.
The Anatomy of a Mosaic Flower: Petals, Centers, and Stems
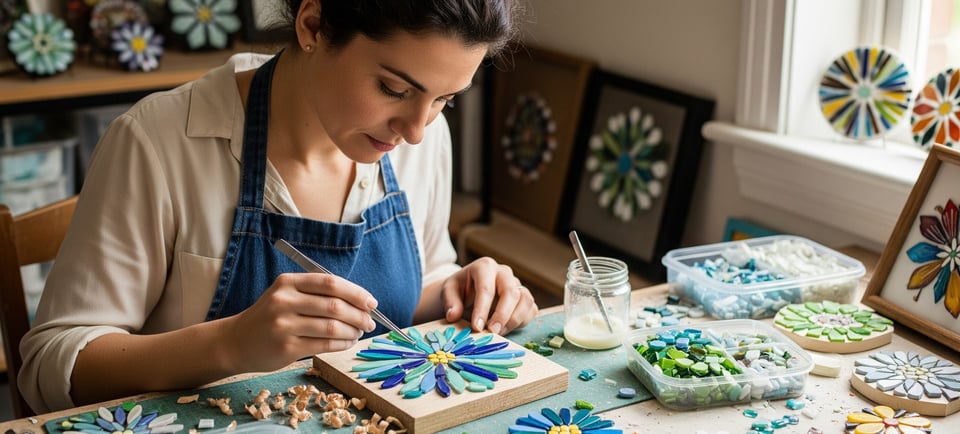
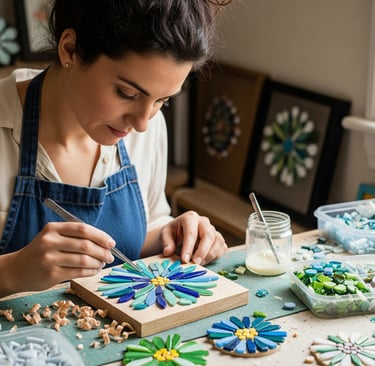
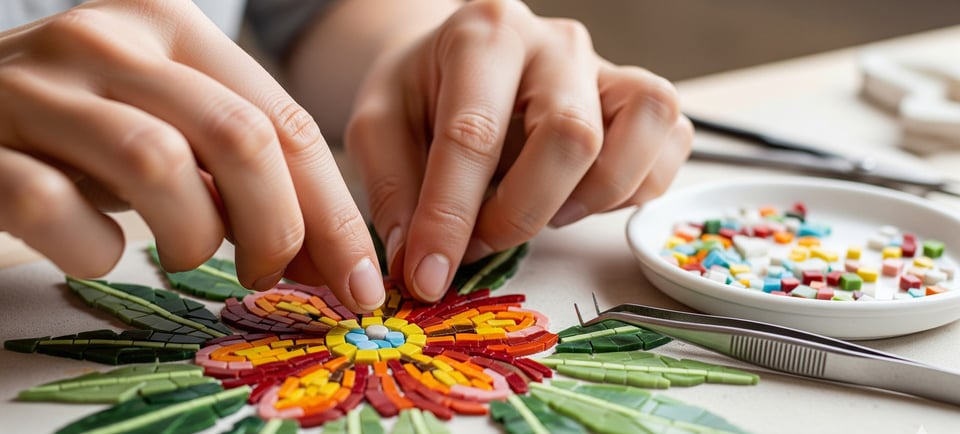
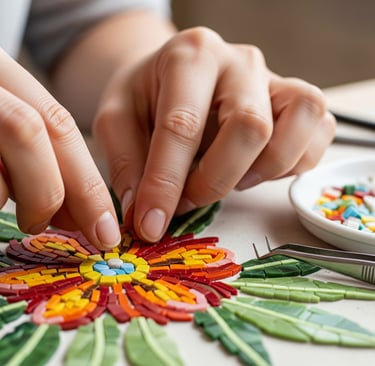
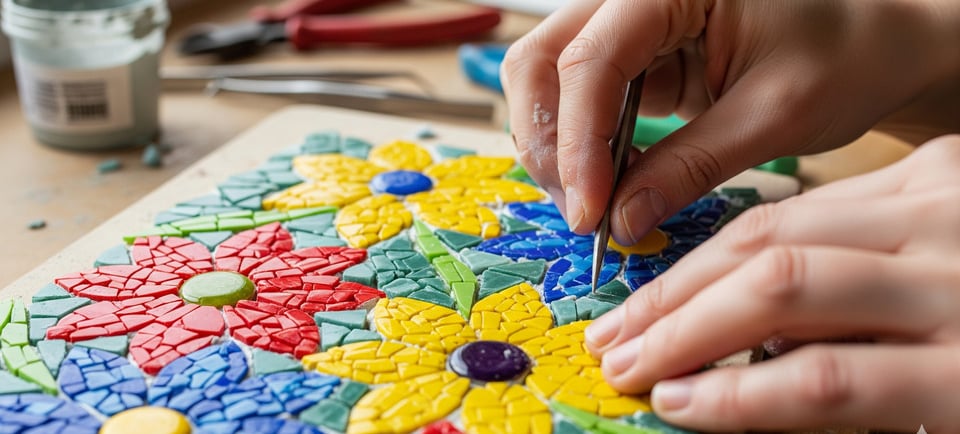
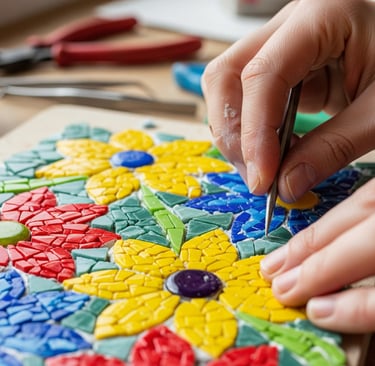
Every mosaic flower starts somewhere, and that somewhere is usually the center. You know, the big, beautiful core that holds everything together. Cut a perfect circle for the center first, and then move on to the petals. Laying out your petals before you glue them down is a game-changer. It gives you a chance to see the full design and make adjustments before it's permanent.
For a simpler design, just cutting crescent shapes and placing them around the center circle can create a lovely, symmetrical look. But what if you want something a little more complex? Maybe something with a bit more flair? That’s where things get fun. You can sketch guide lines directly onto your tile to help you achieve the correct angle for each cut, ensuring your petals fit together like a puzzle.
Don't forget the stem and leaves! Simple long, thin pieces of green tile or stained glass work wonders. You can even cut different shades of green and brown for a more natural, organic feel. Or, you know, go completely abstract. This is your art, after all.
A Little Digression: Why Flowers, Anyway?
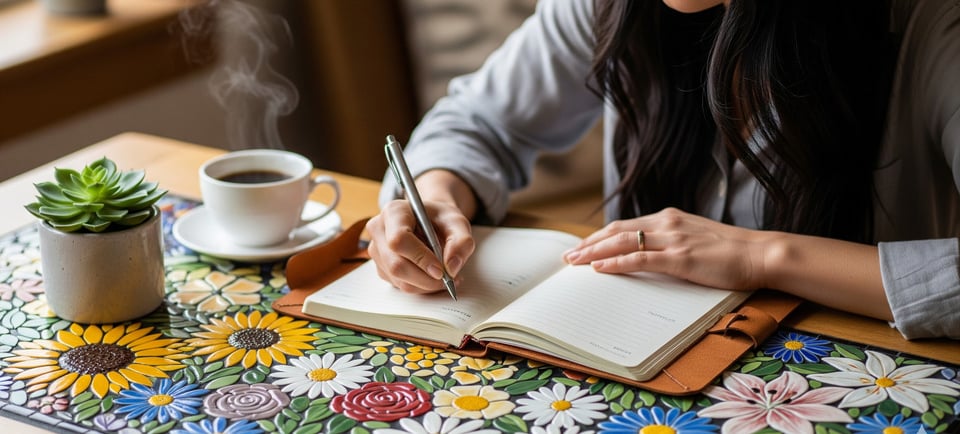
You ever wonder why we're so obsessed with floral motifs? Think about it. We send flowers to celebrate births, to mourn losses, to say "I love you," and to apologize. They are literally packed with emotional and cultural significance. A mosaic floral piece isn’t just a pretty picture; it’s a permanent expression of those same feelings. It's a bouquet that will never wilt, a garden that will never need watering. That, to me, is the true magic of this art form. It's creating something timeless from broken, everyday pieces.

A Solid Foundation: Mortar, Grout, and All That Jazz
So you've cut all your pieces and laid out your stunning design. Now what? Time to glue 'em down! You'll need a good adhesive, like a polymer-fortified, thin-set mortar. This stuff is what professional mosaic artists use, and for good reason—it creates a strong, durable bond.
The key with mortar is to mix small batches at a time. This stuff dries fast, so you don't want to get ahead of yourself. Mix it until it's the consistency of peanut butter or thick cottage cheese, and then spread a thin layer on the back of each piece of tesserae before pressing it firmly onto your surface. Remember to leave a small space between each piece for the grout.
After your mosaic has dried (usually at least 24 hours), it's time for the final, and most satisfying, step: grouting. Grout is what fills in those gaps and makes your mosaic a cohesive piece. You can get sanded grout for larger gaps or choose from a rainbow of colors to make your design pop. Just spread it over the surface, making sure to push it into all the crevices. Then, with a damp sponge, wipe away the excess, revealing your finished masterpiece. It’s truly the best part.
FAQs for a Blooming Mosaic Hobby
Q: What’s the difference between nippers and wheeled nippers?
A: Good question! Nippers are generally for hard materials like ceramic and are a bit more heavy-duty. Wheeled nippers, on the other hand, have two little wheels that roll over the surface as you cut, giving you a cleaner, more precise nip, which is perfect for curved mosaic flower patterns and delicate glass.
Q: Can I use old dishes and plates for my mosaic?
A: You absolutely can! In fact, mosaics made from broken china are known as "pique assiette," which is a fancy French term for "stolen plate." Using old dishes, plates, and teacups is a fantastic way to give them a new life and add a unique, rustic charm to your mosaic. Just be sure to wear gloves and eye protection when breaking them.
Q: How do I seal my mosaic to protect it, especially if it’s for outdoor use?
A: For most indoor DIY mosaics, a good-quality grout sealer applied with a small paintbrush is all you need. If your mosaic will be outdoors—say, a mosaic flower pot or a stepping stone—you'll want to use a sealer designed for outdoor use. Reapplying it every few years will help protect it from the elements and keep it looking vibrant.
A Final Thought: Embrace the Imperfections
You know, one of the most compelling things about a handmade mosaic is that it's imperfect. There might be a slight jagged edge, a piece that’s a little crooked. But that's what makes it so beautifully human. It's not mass-produced; it's a piece of art with a story, with a little bit of you in every single broken piece.
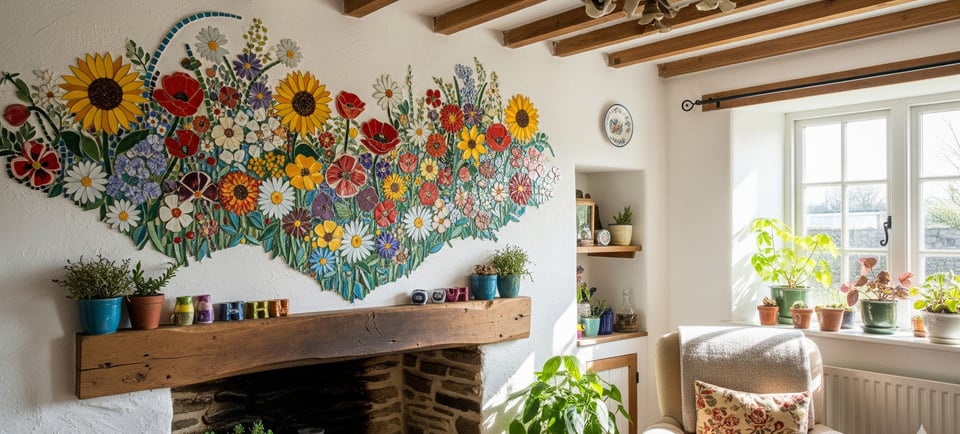
So go on, gather your materials, and start creating. You're not just making a pretty picture; you're building a garden, one beautiful, colorful piece at a time.
Explore
Discover unique Czech gifts for every occasion.
Craftsmanship
Tradition
Mon-Fri 9:00-4:00
Address: Školská 660/3, 110 00 Nové Město, Prague, Czechia
Phone: +420 722 126 126
© 2024. All rights reserved.